Showing posts with label Wall Art. Show all posts

Thursday, 10 January 2013

Barnwood Wall Art


This was a fun project to do because it allowed me to use a new tool and create something I have not done before and use new techniques that I am sure to use again. 

A big part of this was coming up with a pattern of sizes and colors that I wanted to to.  First I started by laying out the sizes for this I used three different sizes
1x2
1x4
1x6


I wanted each piece to have a rustic look to them and to look worn and used so I went to town on banging, cutting and scrapping the wood.  Once that was finished I sanded it to insure there were no pieces sticking out. Then I finished each piece by staining them.  For this I wanted to the wood to look like old barnwood so I did a nice coat of water on each board first before staining.  Once the pieces were stained the imperfections I made stood out on each piece.


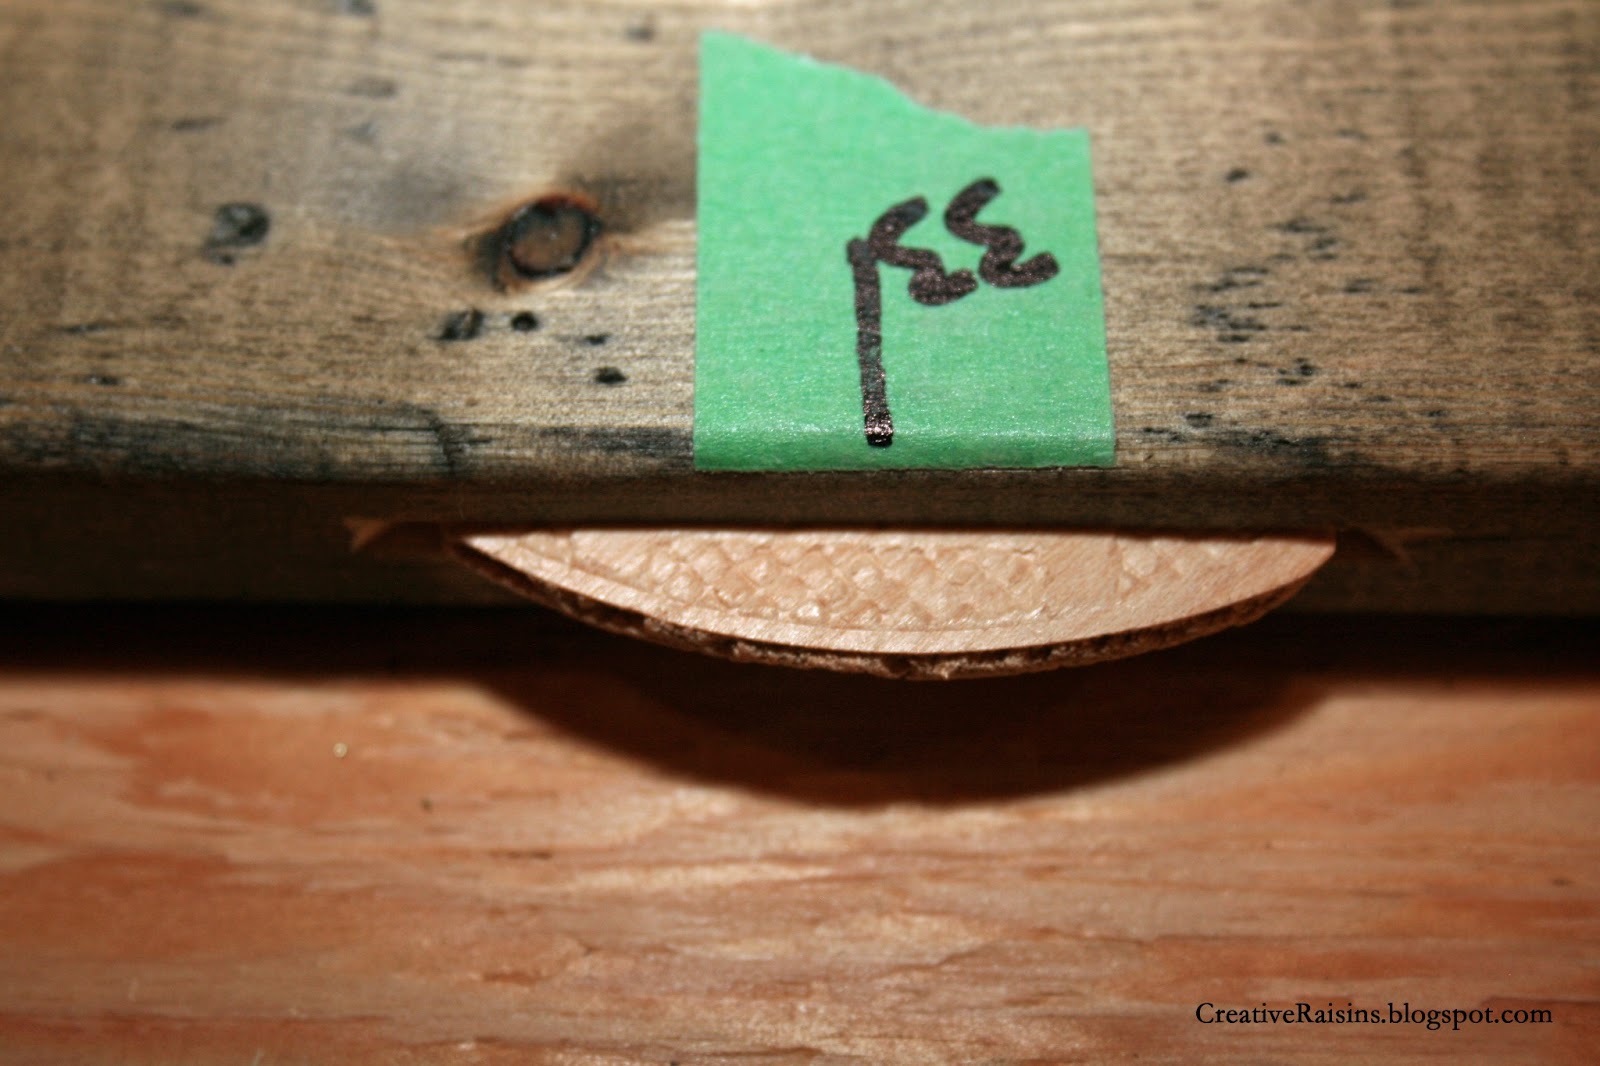
Here comes the fun part, prepping to use the biscuit joiner.  My dad lent me his to use and I loved it so much that my hubby bought me one for Christmas.
Each piece needed to line up so we taped each one and put a matching number on each side to make sure they all went back together the same way. Thanks to my hubby for this idea otherwise things might of gotten a little crazy.


Each piece joint got a biscuit put in it with glue and then the planks were glued together and once clamped sat for the night to dry. 


Originally this was created for my brother to put a metal Oilers sign on it but once it was all done he decided the wood wasn't dark enough to highlight it so I put it to work in  my basement for myself and boy was I sad about that, lol. 


When my husband and me went to Aruba in September I had come across this Rat Land sign which I took a picture of.  I sent it off to shutterfly to have them enlarge it onto a board.  


To finish it off we added a set of license plates we had also picked up from Aruba.

Once my brother gets his sign attached he is going to send me a picture so I can show you another way to use this. 


Saturday, 28 July 2012

Watch Me Grow

Oh could there be anything better than seeing how much your children have grown, it is actually amazing how quickly it happens.  My kids love to get measured.

  This time I have made two different Height charts, one for a little princess who turned one.  And one for my niece and nephew who have moved and now have room to put one up.  


For the numbers I like to go up by 2 inches so that it doesn't feel to cluttered.  I finished it off with a few fun flowers on each end. 

For this one I wanted to make it gender neutral so I went with a simple design using black lettering and no extra decals.  


The thing I like about these movable growth charts is that it doesn't matter if you have to re-paint or you move you can always take it with you.  Trust me I have made the mistake of doing this on the wall and then moving and having to leave behind.   


Tuesday, 6 March 2012

Bedroom Makeover Part 2 ~ DIY Picture Frame


For one of the walls in my bedroom I want to do a photo wall but didn't want to spend a ton on picture frames.  I wanted something new and colorful so I decided to use what I had to create this new frame. 

Remember these pictures I had in my room before?


I got these awhile ago from the dollar store they are just glass with the metal clips on the outside.  


 I used my favorite kind of wood, you got it 1x4's.  I used my saw to cut these at a 45 degree angle and routered out the back for the glass to fit into.  


I wanted a nice pop of color in my room so I gave it a couple coats of paint.  


I created my own matte and used the existing backing from the glass frame.


 I used nails that I hammered in on an angle to keep everything secure and added a bracket to the back. 


Viola a new picture frame that didn't cost me anything, those are my favorite kind of projects. 

On another note, as some of you are enjoying the seasonal changes of spring and the beautiful weather that comes with it here in Alberta country we are having our annual snow storm.

Yesterday as I was sitting outside of my sons Karate this was the view I had.  Keeping in mind just days before you could see the grass.


After two days of this weather and 12 inches of snow later this is what we ended up with.  Thank Goodness for 4x4 or I wouldn't be going far.


The kids loved it, so much snow they could make tunnels and have their own sledding hill right out the front door. 


Monday, 16 January 2012

Cinema Wall Art

Happy Monday Everyone 

I hope you all had a fabulous weekend.  I had a great weekend.   My mother in-law was up visiting for the past 3 days, so my kids were able to get in all their Grandma time. They were all so thrilled that Grandma got to take them to school on Friday and watch so of their school activities.  Plus we were happy that she could get away from the stresses she has been dealing with.

While she was here my husband and her took the kids swimming which gave me the opportunity to get a project checked off my to do list. 


I love subway art and it is so easy to do.  I had a scrap board in my garage already that was perfect for this project. I painted it black for base coat.


I figured out what words I wanted and used my vinyl cutting program to come up with a layout. Once that was done I cut out a large vinyl piece to fit the board.


Painting the stencil was my next step, I started by painting it white but didn't feel like it was the right color choice soI ended up repainting it with a silver.


After the paint was dry I removed the vinyl and gave it a sanding throughout and on the edges.


I love the look of the book page and the clipart so I found some printable images online of both and used my photoshop program to create this picture and simply printed it on my printer.


The movie reels I was able to find on Etsy, they work perfectly on this wall.

Also I have a question for you all, I am having a hard time deciding on what to put on the top shelves of my tv unit.  Any suggestions would be great. 


Wednesday, 10 August 2011

Letter R & Theater Room Picture Wall

It all started with this letter R and grew from there  

I had some scrap plywood in the garage so I drew out a large letter R and then gave the jigsaw a whirl for the first time. 


Okay yes I know it isn't perfect but I guess that's what I like about it, the imperfections just adds character to it.  Once I got this cut out my poor letter R went through an identity crisis, first it thought it wanted to be white, than black and finally it ended up deciding on Red with a touch of rustic.  


I think the red Suits it


This fantastic "R" needed a little bit of company so I grouped it with some pictures of my husbands motorbike.  I edited each picture in photoshop different so they were not to matchy.


I like the chrome looking one, has a cool vintage look to it. 


I wanted to add a touch of yellow so I used fabric that I painted and then used as a back drop to this black and white picture. 

Thursday, 26 May 2011

Bedroom Makeover

When my little man was moving into his big boy bed I figured it was time for a change.  So it called for a fresh coat of paint, a new bed, and a toy box.  I am in love with Ana White with her plans it makes it so easy to create that perfect piece of furniture.  I decided Red would be a nice accent color and the fabrics I used to make pillows are fun and playful but didn't want them to match.  The bird sign above the window was painted the same red as the dresser and finished off with vinyl birds.


Bookshelf we made for Makai's Birthday

Headboard & Bookshelf

I just love this cute little leather Chair

I painted the dresser to match with the Red in the room