Showing posts with label furniture. Show all posts

Monday, 3 December 2012

Office/Craft Room Makeover

I can't believe it has taken me so long to share with you my office makeover.  I have decided I am a ADD Crafter.  I start a project and need something from a different room and then get to the room and start a different project.  It is a major problem for me, hmmm I wonder if they have help for this.  Anyways I finally finished and then got around to taking some pictures so I thought I better share before something else comes up.

I have never been a blue person when it comes to paint on my walls but I am loving this dark blue I used.

Prior to this becoming my very own space it was my sons bedroom. After a little shifting in the house I finally have a space all my own.  

 I Kept it simple with the artwork and added some pictures from our recent trips to Australia & Aruba


Do you remember the lamp I refaced well here is her final home.  You can check out her before and after here


I had this light upstairs in the room I moved my son to and fear for its life it had to make it's way downstairs to this room.  Plus it didn't really go with a boy room. 

Dresser Before
I re-painted this dresser and side table before but decided in this room I wanted something a little more girly.  Frankly I am surrounded by boys so this corral wouldn't go over well in really any other room. 


Computer Desk Before

The computer Desk also got a facelift 

One of my favorite things in this room is this Antique Singer sewing machine which my husband rescued from his mother.


I found this fantastic World Map online and the thing I liked about it was that it had more brown tones to it. 


Okay isn't this the cutest little oil can you have ever seen.  It was hiding in one of the drawers of the sewing machine. 


So there you have it, do you like it as much as I do. 


Sunday, 29 April 2012

Sneak Peak

I hope that you have all had a wonderful weekend.  Here in Alberta it has been beautiful, my boys have spent most of the weekend riding bikes and playing in the sprinklers which for her is almost unheard of for this time of year.  We better take what we can because next week it might snow.  

My hubby went away to Idaho for the weekend to do a little dirt biking so I thought what a perfect time to do those projects that he said no way to, lol. 

Here is just a little sneak peak of what I was up to, I will do a full post on this in a day or so.  


Isn't she pretty, okay so maybe I was told not to paint this and perhaps that yellow is not going to be his favorite choice but I am hoping that the painted and organized garage will offset this.

This week me and my little man went on his meet the teacher night for kindergarten, got to do a tour and ride the bus.  He is pretty excited to go to the same school as his big brother.  


We also had our year end Karate Gala where Chase was awarded with his White Advanced belt and my Keegan was awarded with the best Focus award for all of the Dojo. 


My hubby is on his way home from a great weekend, my hands are sore from all the painting and the boys are out riding their bikes how much better can it get.  


Wednesday, 9 November 2011

I love a good old Trunk

I was thrilled when my dad told me he had this old truck that I could have. 


My plan originally was to paint all the metal in black and red.


The pieces painted in black had to be done because the rust was rubbing off, but once I got that all painted I felt like painted the rest of the metal edges in red might take away from the rustic look I like so much.  


I love how the leather on it is worn and torn and looks well used.  Makes you wonder where this trunk has been. 


I also added these castors to the bottom so that it could be easily moved around and so that it gave it a little more height. 


I am going to do a tray on top of it to protect it if we want to have glasses or remotes on it. 

Monday, 31 October 2011

Man Room Built in TV unit

I am so beyond excited to share this project.  It has been a year in the making, and it is finally finished.  Let me start by saying this couldn't have been done if it wasn't for my husband who was the builder of this fantastic unit and my dad who helped us out with the crown moulding to finish it off. 

It may have taken a little bribing of a large TV with no home for it to go but it was well worth it.

I am not a fan of the big speakers but I was told they had to be there as it is a man room and all.

After researching many different options and styles we came up with this one.  It was build as one large piece and then pushed back into place. 

  Just as I was starting to paint


First Coat of Primer went on


This unit took a few coats of paint to get the color I wanted to achieve.  First I started with a dark base and then after seeing it I wasn't to crazy about it.  So I reversed the colors and did the base in the light and then mixed the darker color with a glaze and brushed it on. 


I still need to fill some of the spots on the shelves but haven't been able to find what I want yet. 

Thursday, 13 October 2011

The Start to a Perfect Office Area

I am so excited that I have finally finished this project.  Like I said before this has been a thought process for about 6 months and the desk is finally done.


I am so happy with the finished product it is perfect for the space.

Before
Our office area is just at the bottom of the stairs when you enter the basement.  Before we had this large corner desk that took over and looked so messy all the time. 


Thanks to Ana White  I found the idea for the bottom base with a few tweaks to make it my own.  I found these banister rails at a local Habitat for Humanity store for $3.00 Each.  I made the main part of the top just out of a piece of left over plywood.  


I then framed out the top with 1x2's and used 1x4's to finish off the top. 


 Don't you just love this color, a little white was and it was perfect.


Then came the fun part, I bought this tin from the local hardware store cut it out to size and after some research on discoloring and a few trials to see what would work.  I sprayed the tin with some oven cleaner and left it for the night. 


With a little hard work from the palm sander I sanded off all the oven cleaner that was dried on which gave me the look I wanted.  But to give it a little more personality I put a little bit of watered down paint on and then gave it another quick sanding. 


The front door I decided to just leave with no color and love both looks. 


I just need to add some accessories and wall art to finish off my little office corner.


Sunday, 2 October 2011

A sneak peek at what I have been working on

I just wanted to share with you a little sneak peak of my newest project.  It is finally starting to take shape and I cannot wait to show you the finished product.  


This computer desk has taken many months of thought of how I would do it.  I wanted something that would hide my ugly tower, subs, and all the other stuff that goes with it.  I couldn't find what I wanted in a store that looked pretty enough so I decided to make it myself.  

I am just in the process of staining and painting so hopefully in the next couple of days it will be done.


Wednesday, 31 August 2011

I am Loving Red

I know I know I have slacked off something horrible.  With summer break coming to an end I am hoping to be more on track with my blogging.  Tomorrow is the first day back for my not so little man as he enters into the big Grade 2.  I am pretty sure I am more excited than him, I figured once we dropped off his school supplies today he would be a little more excited but not so much. 

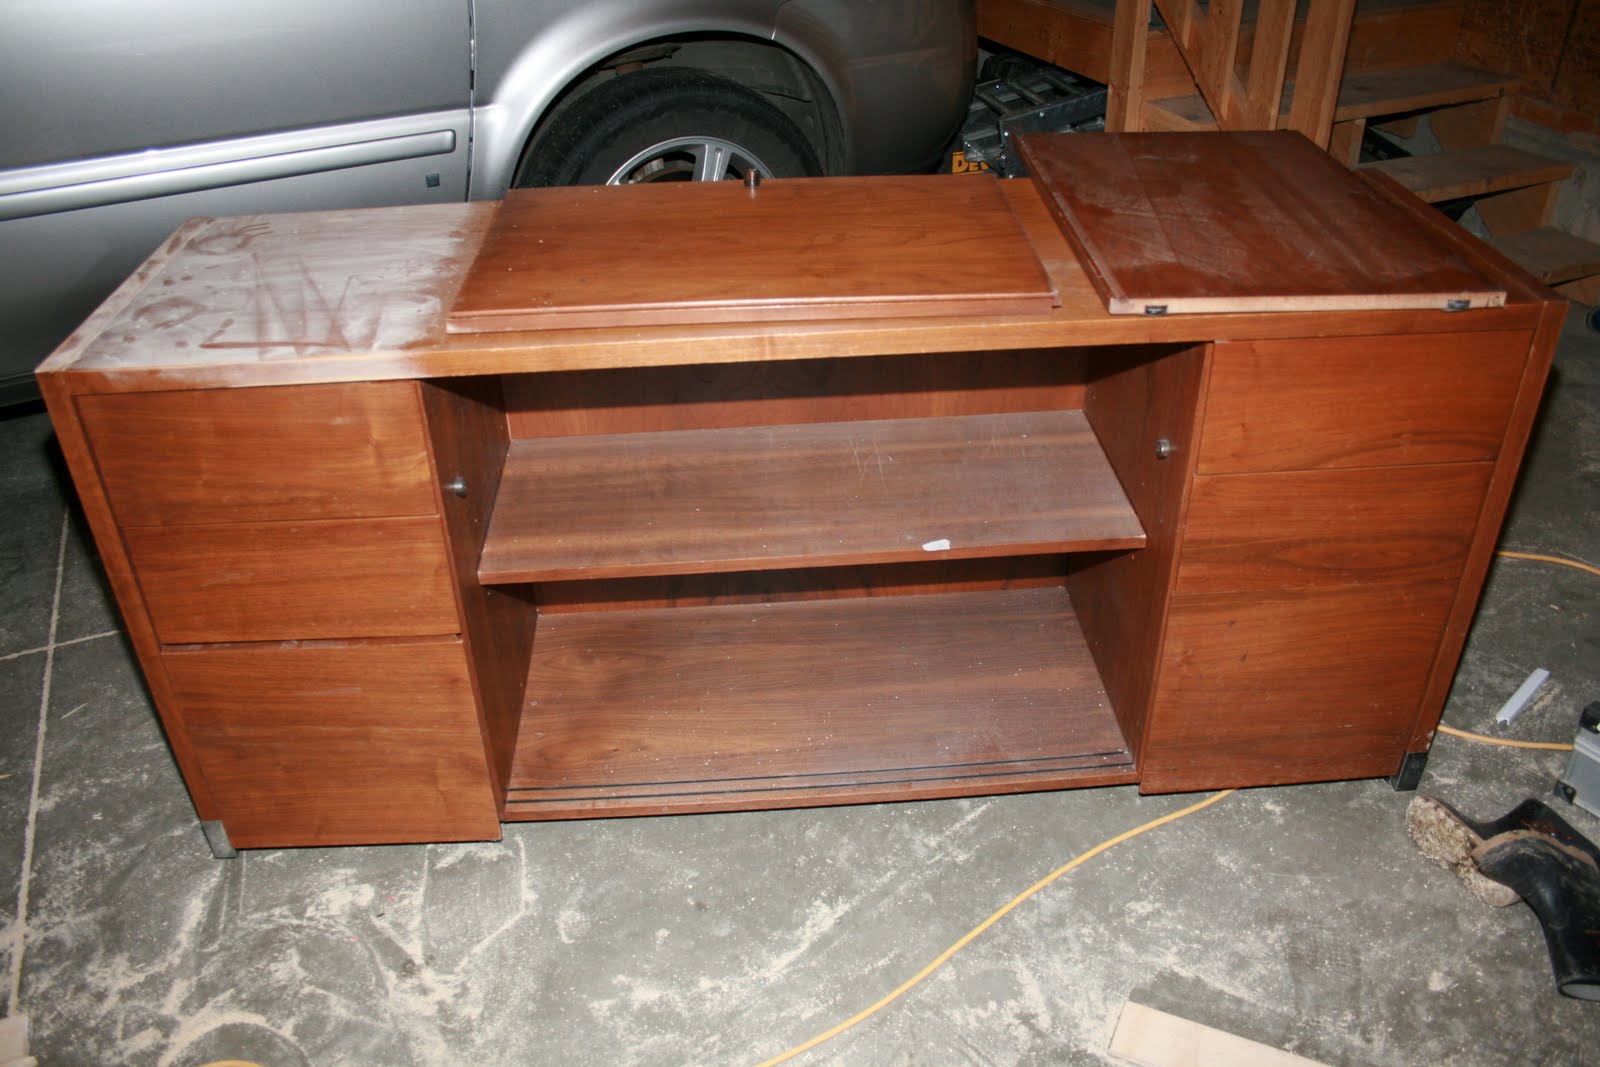
Last year I had seen on another blog a credenza and I told my husband I must have one of those.  I searched Kijiji and found this fantastic credenza for $50.00.  My husband thought it was so ugly and way to heavy but he brought it home anyway.


It has sat in my basement for a little while waiting to be love and finally it got its face lift. 

Picking the color was the hard part, first I painted it a white but it just didn't do it justice.  Once I started working on the rest of the room and changing wall colors there was no question that red was the perfect choice.  There are some nice chrome pieces on the bottom of the credenza so I picked up these handles to match.  Next thing is to accessorize the top, which of course is my favorite part. 

Hope you enjoy and are all having a fantastic week.