Sunday, 24 February 2013

House Reno's Are Underway

Well the house renovations are underway. It is starting to feel a little crazy around here.  We are currently down to one bathroom which is in the basement and have been living with plywood floors for a few weeks.  Let me tell you I am ready to get the floors started.  Prior to Reno's all of the flooring was either lino or Berber carpet. I figured if we are going to change the carpet to hardwood we had better change all the lino to.  

Who would have thought there would be hundreds of staples under this lino that had to be pulled up.  


Where there is a spot there is a box of some kind of flooring.  


 The entry way to the garage is tiled and we just need to put some molding back on.


Our kids bathroom looks a little bit like this, just needs to have the floors grouted and toilet put back on.  I am loving the 12 x 24 tiles I found.


I am hoping in the next week or so we can get going on the hardwood floors and get rid of some of the dust flying through the house. 

Hope you are all having a great weekend. 

Tuesday, 12 February 2013

Laundry Room Makeover

With The help of my wonderful husband we got to work building and making a space that works much better for our busy family and the tons of laundry that I do each week.  


There were two main issues with this room, storage and a place to fold my laundry.  While this is a large space it is a multi purpose space so it also houses a treadmill and doubles as a workout room as well. So it was making a space that allowed for each one to be done in here.  


We starting with getting a stacking kit for the washer and dryer and moving a few outlets over this allowed for a ton of room to do the built in.  
I bought baskets for each one of the kids this is where their socks, undies and jammies will go and I have made it their responsibility to come and get it and unload it.  Lets see how that goes, lol. 


I wanted storage but I didn't want to see it so we build this cabinet and found some doors that I repainted at habitat for humanity for a mere $5.00 each.  The cabinet is pretty deep so it gives me a load of storage.   I hang just about anything we wear so having this hanging rack makes a big difference, no more piles of clothes on the floor while I get everything on hangers.  


Even though I really do not like doing laundry this space has already been broken in and I know it will make my life much easier.  Know if only I could teach the kids to wear less clothes throughout the week, okay a girl can dream can't she. 


Sunday, 27 January 2013

Barnwood Wall Art

As promised I wanted to show you another use for the barnwood frame.  Originally this project started because of my brother who had made himself a metal Oilers sign and wanted to feature it on a wood background.  


The first attempt was a little to light to really make this sign pop so I kept it for myself and created this one.  I distressed this wood a little bit more than the last one and added darker stain to it.  


What I love about this piece is how it is very versatile and can be used for two different themes.  If you want to check out how I created these pop over to my original post.


Tuesday, 22 January 2013

The Laundry Room Is In Full Swing

Source: houzz.com via Susan on Pinterest


Laundry for me is one of those chores that just drives me bonkers.  It is one of those chores that is so unforgiving, never lets up and doesn't take holidays.

I am one mean washer and dryer but when it comes to actually hanging everything and putting it away that is where I lack.  So I have decided to blame it on the laundry room and its oh so non-functional space.

Just a few of my inspirational sources
Source: Houzz.com

Source: lolainspired.blogspot.com

One of my least favorite projects is muding and sanding but at least there was only a little bit left to do in this room 


With a fresh coat of paint she is starting to look good.  My hubby starting to build the shelving unit, I know it doesn't look like anything yet but she is going to be pretty when it is done. 


I also bought a stacking kit for the washer and dryer to give us more space to work with, which meant moving some electrical and the duct work which is one of the perks of having an electrician for a husband. 

I am so excited that this project is in full swing and can't wait to show you the finished product. 


Thursday, 10 January 2013

Barnwood Wall Art


This was a fun project to do because it allowed me to use a new tool and create something I have not done before and use new techniques that I am sure to use again. 

A big part of this was coming up with a pattern of sizes and colors that I wanted to to.  First I started by laying out the sizes for this I used three different sizes
1x2
1x4
1x6


I wanted each piece to have a rustic look to them and to look worn and used so I went to town on banging, cutting and scrapping the wood.  Once that was finished I sanded it to insure there were no pieces sticking out. Then I finished each piece by staining them.  For this I wanted to the wood to look like old barnwood so I did a nice coat of water on each board first before staining.  Once the pieces were stained the imperfections I made stood out on each piece.


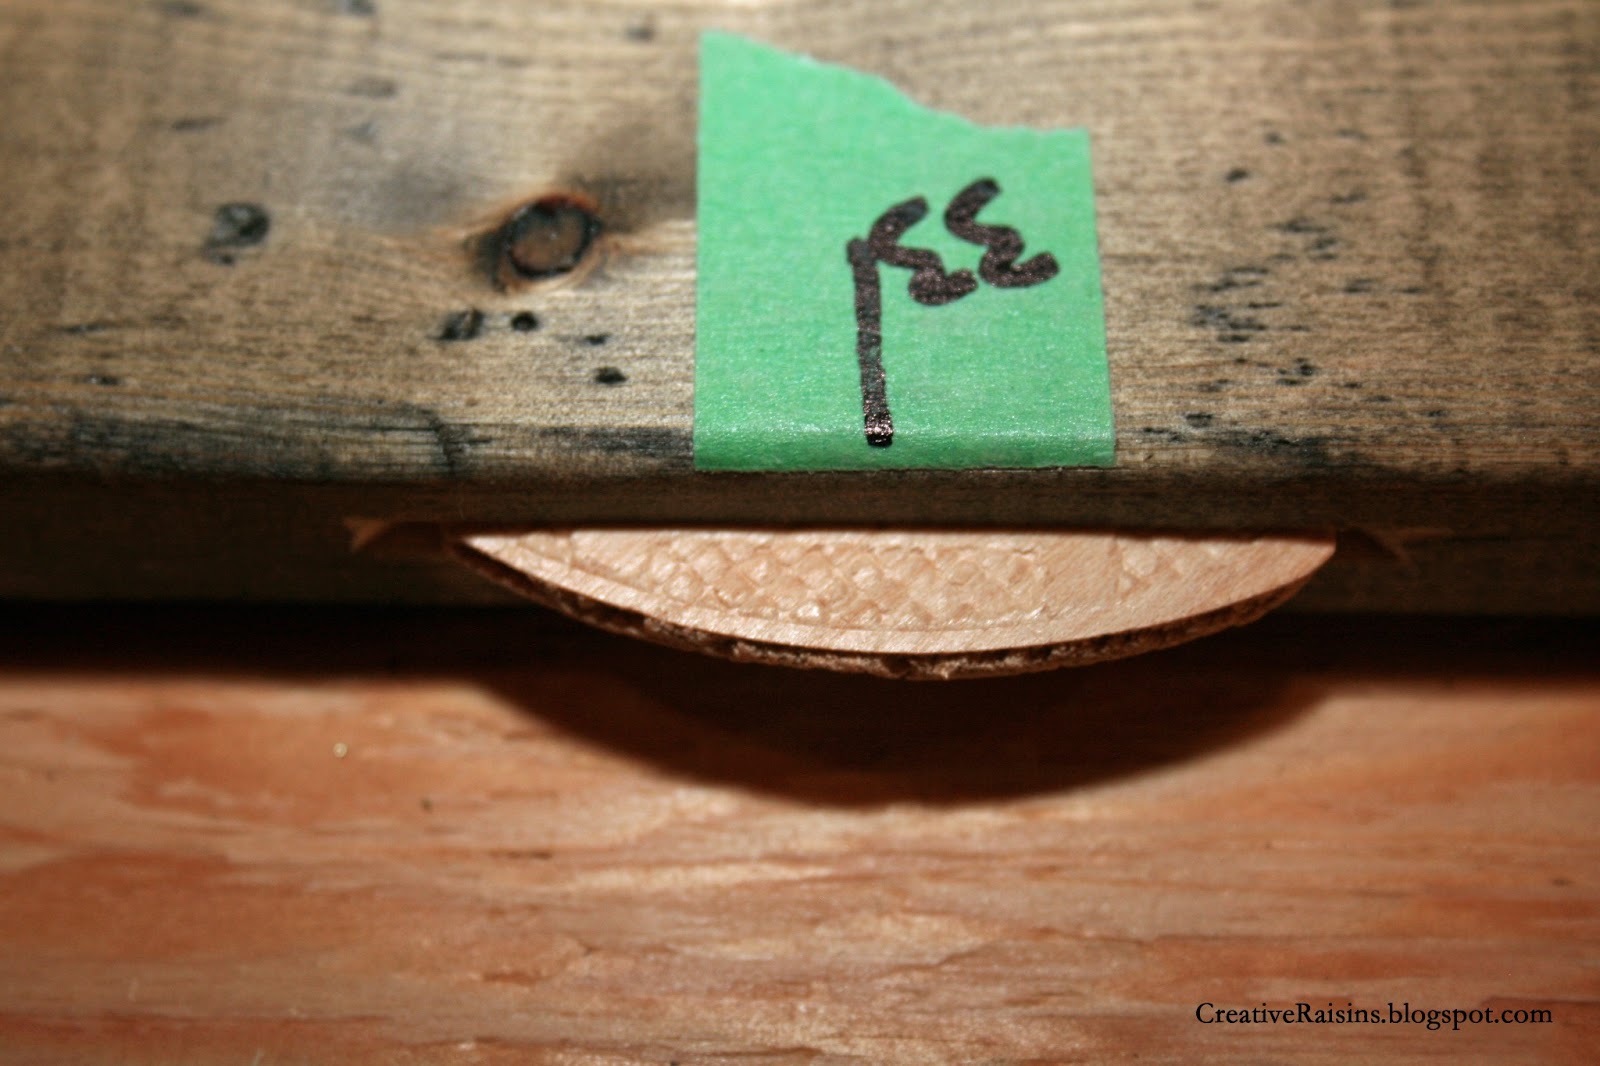
Here comes the fun part, prepping to use the biscuit joiner.  My dad lent me his to use and I loved it so much that my hubby bought me one for Christmas.
Each piece needed to line up so we taped each one and put a matching number on each side to make sure they all went back together the same way. Thanks to my hubby for this idea otherwise things might of gotten a little crazy.


Each piece joint got a biscuit put in it with glue and then the planks were glued together and once clamped sat for the night to dry. 


Originally this was created for my brother to put a metal Oilers sign on it but once it was all done he decided the wood wasn't dark enough to highlight it so I put it to work in  my basement for myself and boy was I sad about that, lol. 


When my husband and me went to Aruba in September I had come across this Rat Land sign which I took a picture of.  I sent it off to shutterfly to have them enlarge it onto a board.  


To finish it off we added a set of license plates we had also picked up from Aruba.

Once my brother gets his sign attached he is going to send me a picture so I can show you another way to use this. 


Friday, 4 January 2013

Creative Raisins Top 5 of 2012

Wow 2012 has flown by, I can't believe we are already into the first week of January and the kiddies are almost back to school.  How crazy is that!!! I don't know about you but I have had a hard time getting projects done but have been busy getting rid of the clutter and cleaning off the cobwebs that have been bothering me.  

After reflecting on all the fun I had in 2012 I wanted to share with you five of my favorite posts from the year. 


I hope your 2013 has started off as good as mine has and wishing you a fabulous weekend. 


Friday, 28 December 2012

Framed Magnetic Board

Well this little project has been sitting half done for about a year if not longer and as I am going through my house trying to get all my projects done this one was first on my list.  

My brother was clearing out his collection of metal sheets and was kind enough to pass one on my direction. This is what the little beauty looked like when I got it.  I decided to keep it as is and just spray it with a top coat to seal in the rust so it wouldn't transfer onto the fabric. 


Before wrapping and gluing the fabric to the magnet board I used cardboard on the edges to make sure that the fabric would not get ripped.  Then I simply started to tuck and glue the fabric to make it nice and tight. 


Once it was all wrapped we used molding to frame it out and added a backing to finish it off. 


It is a fun way to have an organization board or a place to put pictures on.